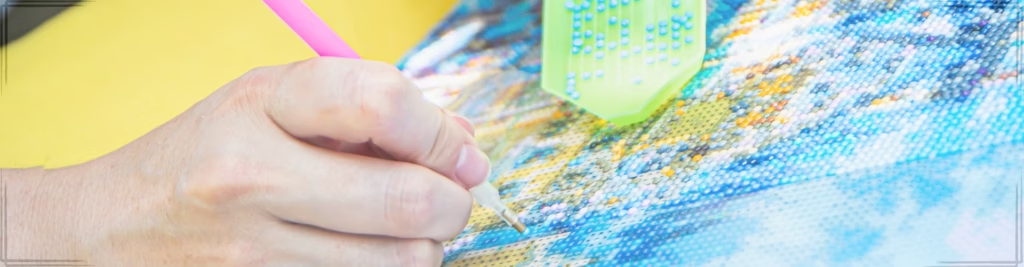
Today I’m sharing some common ways to finish and protect diamond arts projects. Hobbies are popular among most of us. This is not only something we like to do but also a unique way to relax and enjoy our time. Diamond painting is one such hobby that has gained popularity among craft lovers. It is a good way to combine creativity and relaxation. However, besides the process, it is also important to protect your masterpiece once finishing it so that it lasts longer.
This process not only helps to keep the gems shiny all the time but also protects them from dust, moisture, and any form of inadvertent movement. An array of options for finishing and protecting diamond paintings is available. A brush-on sealer will be great for coverage and is outstanding for pieces framed without glass. A spray-on sealer will work on bigger pieces and produce a fast finish since it is easy to apply. Both kinds of sealers are effective sealers as they create a coating on diamonds, thus preventing any loss of shine and longevity.
After preparing your complete artwork, check that all diamonds are firmly fastened and that the canvas is clean and dry before using any kind of sealer to finish and protect diamond arts projects. Many artists find that using a relaxing diamond painting set that’s easy to work with helps them achieve a polished look. Once sealed, your diamond art will be ready for display, so you can enjoy it for years.
Key Points
- Sealing protects diamond paintings and keeps their shine intact
- Choose between brush-on and spray-on sealers based on the size and needs of your project
- Proper preparation is key to getting a professional finish
Preparing Your Diamond Painting for Sealing
Preparation is essential to achieve a flawless result when you want to finish and protect diamond arts projects. It is important to be very attentive when sealing the painting. Using the right tools is also crucial.
Ensuring a Properly Set Layout
Carefully examine all diamonds to make sure that they are all attached properly before starting the sealing process. If there are misaligned pieces, tweak them with the help of tweezers. Carefully press down on the diamonds with the help of a roller tool so that the diamonds adhere well to the canvas.
If there are gaps between the diamonds, fill in if necessary. This will create an an even surface ready for sealing.
Under proper lighting, check your whole painting for imperfections. It is better to fix them before sealing them since they could remain permanent afterward.
Essential Tools for Sealing
Here’s what you’ll need to finish and protect diamond arts projects:
- Clean cloth or lint roller
- Diamond painting sealer
- Protective gloves
- A well-ventilated workspace or an outdoor area
- Drop cloth or newspaper to protect nearby surfaces
Use a soft brush to gently remove dust and debris from the surface so that you get a clean, smooth finish.
setting up of your workspace is also essential. It will require covering surrounding surfaces and ensure good ventilation for possible fumes from the sealer. It will also require that you keep on your gloves to keep your hands clean during the sealing process.
Applying Sealer and Achieving a Professional Finish
You need to seal diamond art not only to protect the crystals but also to make it look better and brighter.
Sealing Techniques with Brush-On Sealers:
Start off with a soft brush that is wide, in order to avoid disturbing the diamonds. Dip the brush in the sealer, then tap it onto a scrap piece of paper to remove excess sealer. Brush thin, even strokes in one direction across the surface. Allow the first coat to dry completely before you apply another coat to add protection.
You will need to work in small sections to keep the surface wet and avoid streaks. Brush-on sealers allow for detailing applications in delicate areas, thus getting the best results when you finish and protect diamond arts projects.
Using Spray-On Sealers for a Consistent Coat:
To avoid missing spots, be sure to overlap each pass. Prefer thin coats over heavy coats to prevent drips and bubbles from forming. Work in a well-ventilated room with appropriate coverage for any area at potential risk of overspray. Follow the drying instructions of the specified manufacturer for every coat. Spray sealers dry much faster than brush-on alternatives, allowing you to speed up your process.
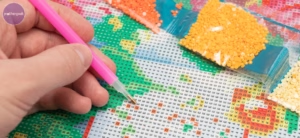
Final Touches and Drying:
Inspect closely after the last coat of sealer for blank spots or imperfections. Use a tiny brush for areas that need additional coverage, or focus on specific areas with a spray sealer.
Allow your diamond painting to stand for a minimum of 24 hours in a dust-free environment so that it is completely dry. Don’t touch your painting or move it during this time, since this could mar the work and leave fingerprints. When finally dry, your sealer will protect the sheen of your diamonds while sealing moisture and dust from them.
Final Thoughts on Ways to Finish and Protect Diamond Arts
Sealing your diamond art is the last step in preserving the beauty of your diamond art. Indeed, it locks the diamonds into position and lends open vibrancy to the piece.
Sealers come in two forms: brush-on and spray-on, each with its unique advantages. Correct sealing will protect your artwork while also creating a protective surface that is ready for framing and display.
Anyone, by applying the right techniques and tools, can complete their diamond painting and look at it glistening for many years. Finally, let me know in the comments if you have any tips to help finish and protect diamond arts projects.